Idea · Design · Hands · Tone
How it’s
made
An RL amplifier does not begin in a catalogue. It begins with an imagined sound, a real need and the decision to give every detail a precise purpose.
From idea to first chord
Character first.
Circuit second.
Every RL amplifier is born twice: first on the bench, then under the musician’s fingers.
The starting point is not a schematic to copy, but the desired behaviour: dynamics, headroom, touch response, saturation and interaction with the instrument. Electronics, mechanics and visual identity then develop as parts of the same project.
01 · Electronic design
Translating sound into electronics.
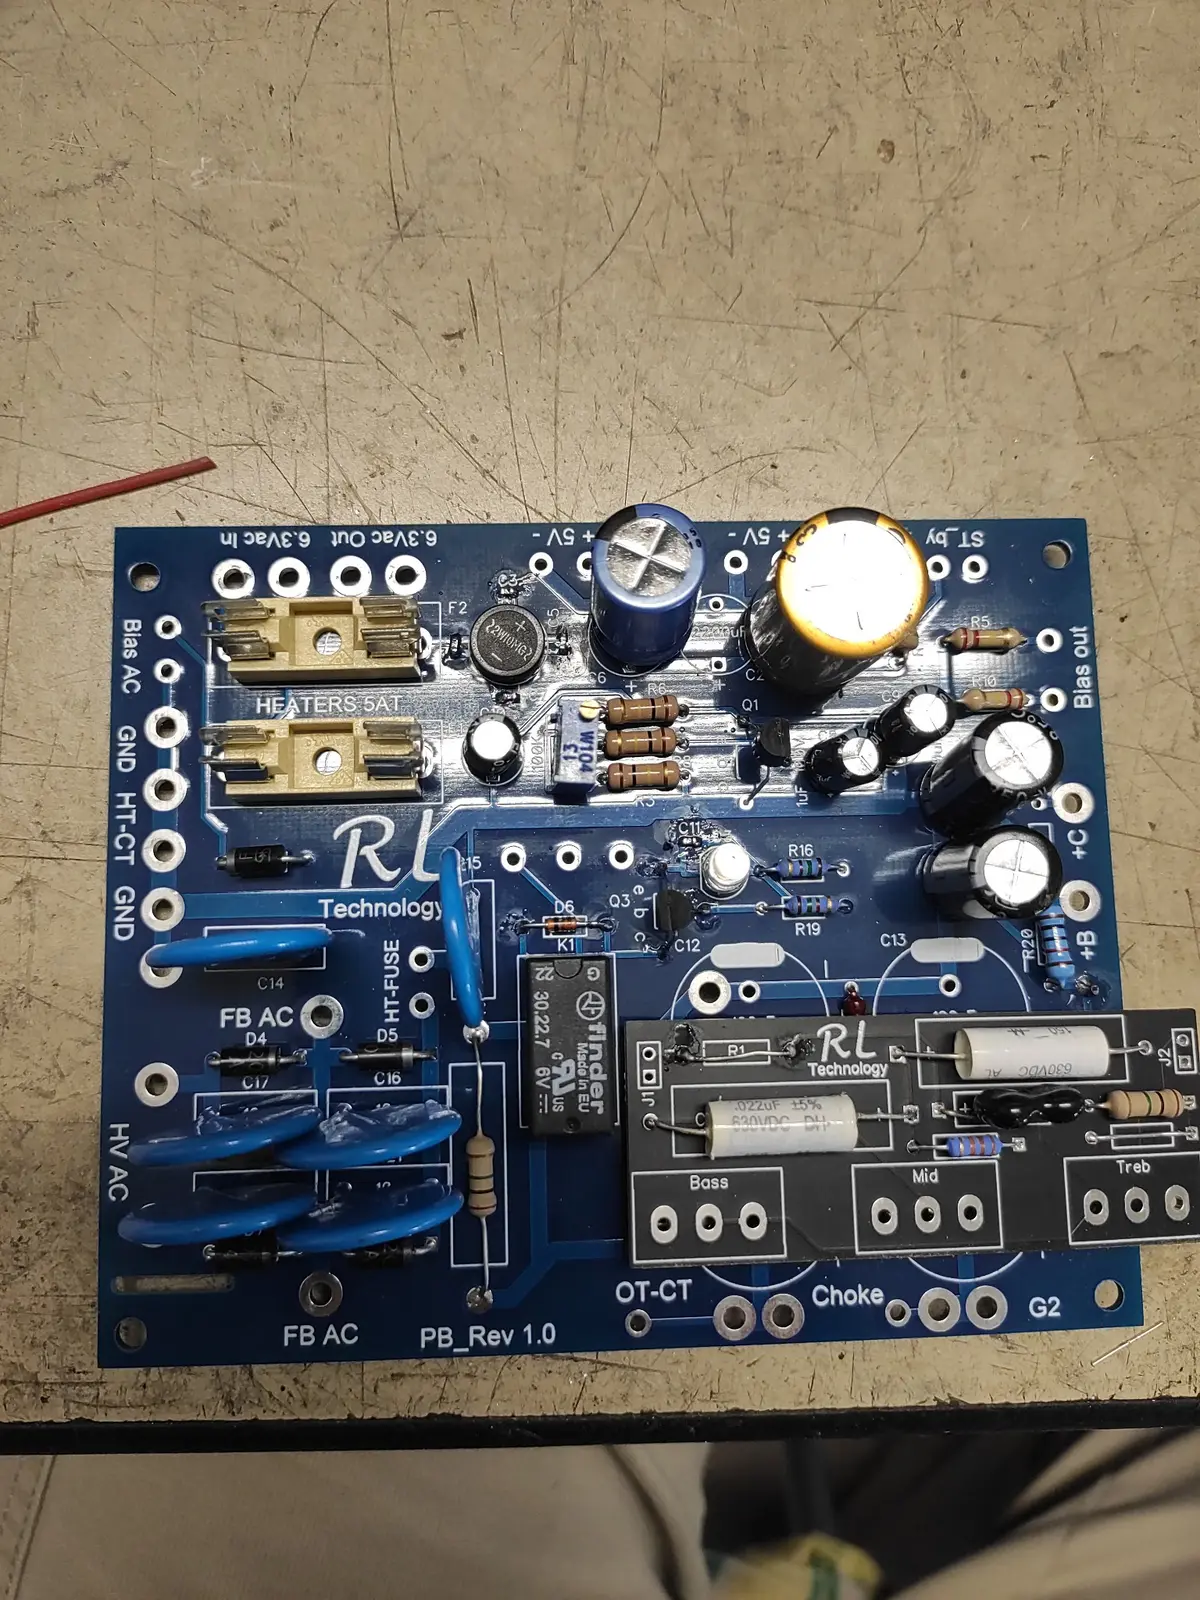
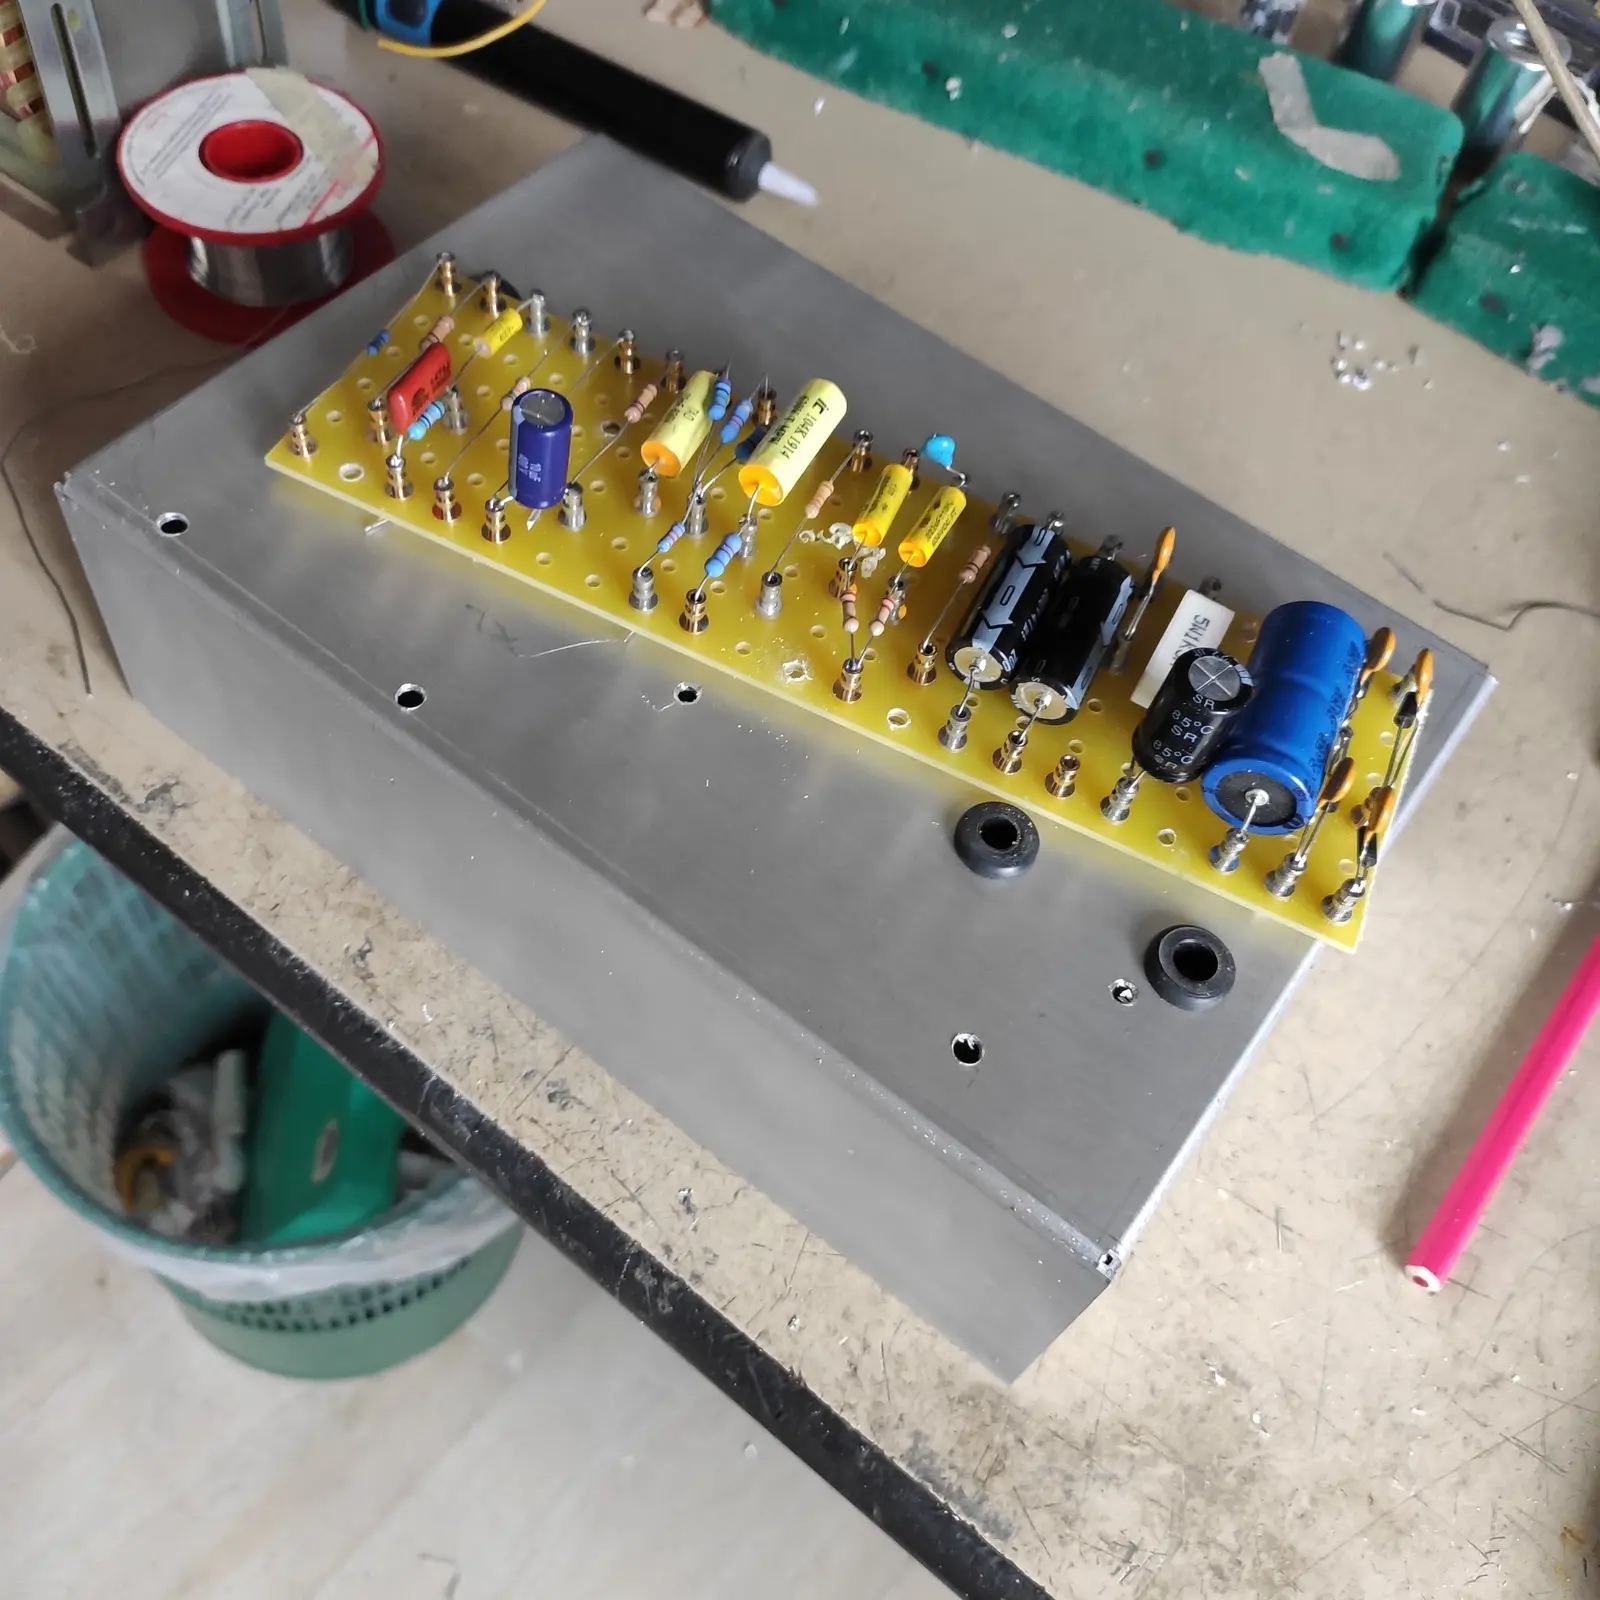
Topology, operating points, power supplies and controls are defined around the character being pursued. Tube tradition works alongside dedicated boards and modern solutions whenever they add precision, reliability or useful functionality.
Each circuit is prototyped, measured and refined: oscilloscope and guitar speak different languages, but they must tell the same story.
02 · Woodworking
The cabinet takes shape.
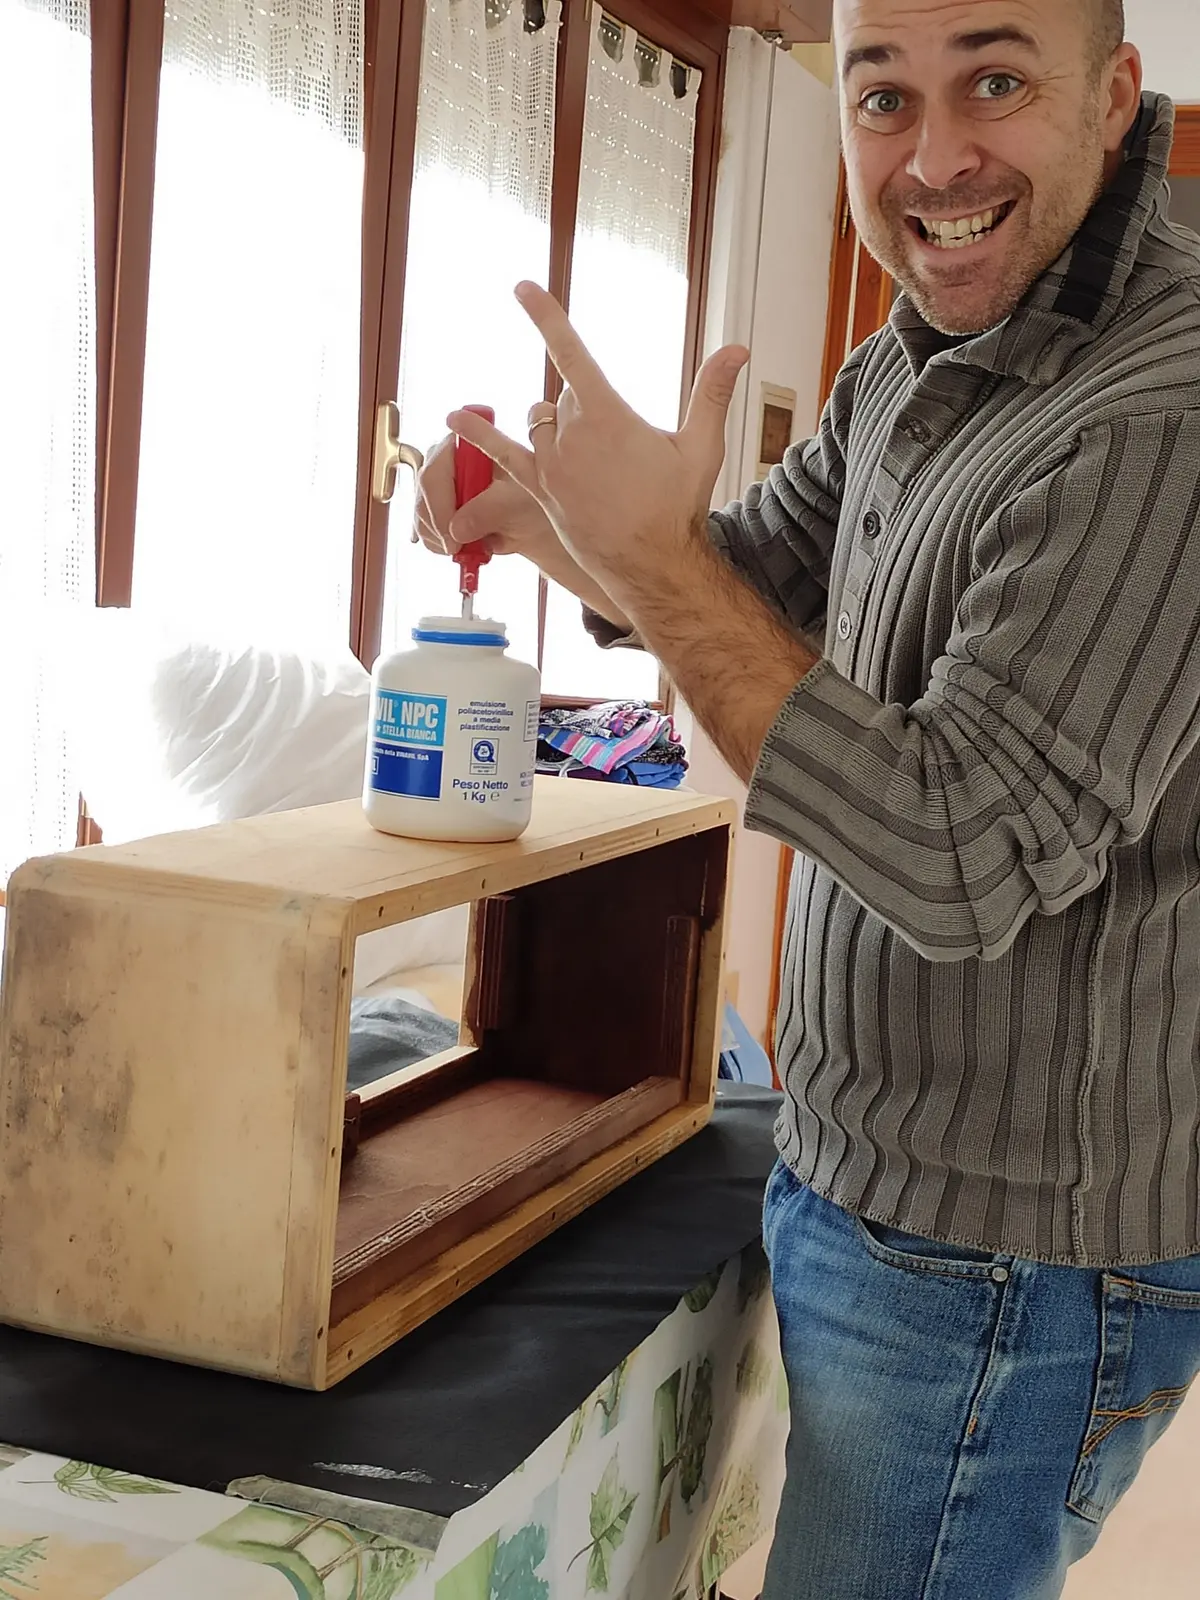
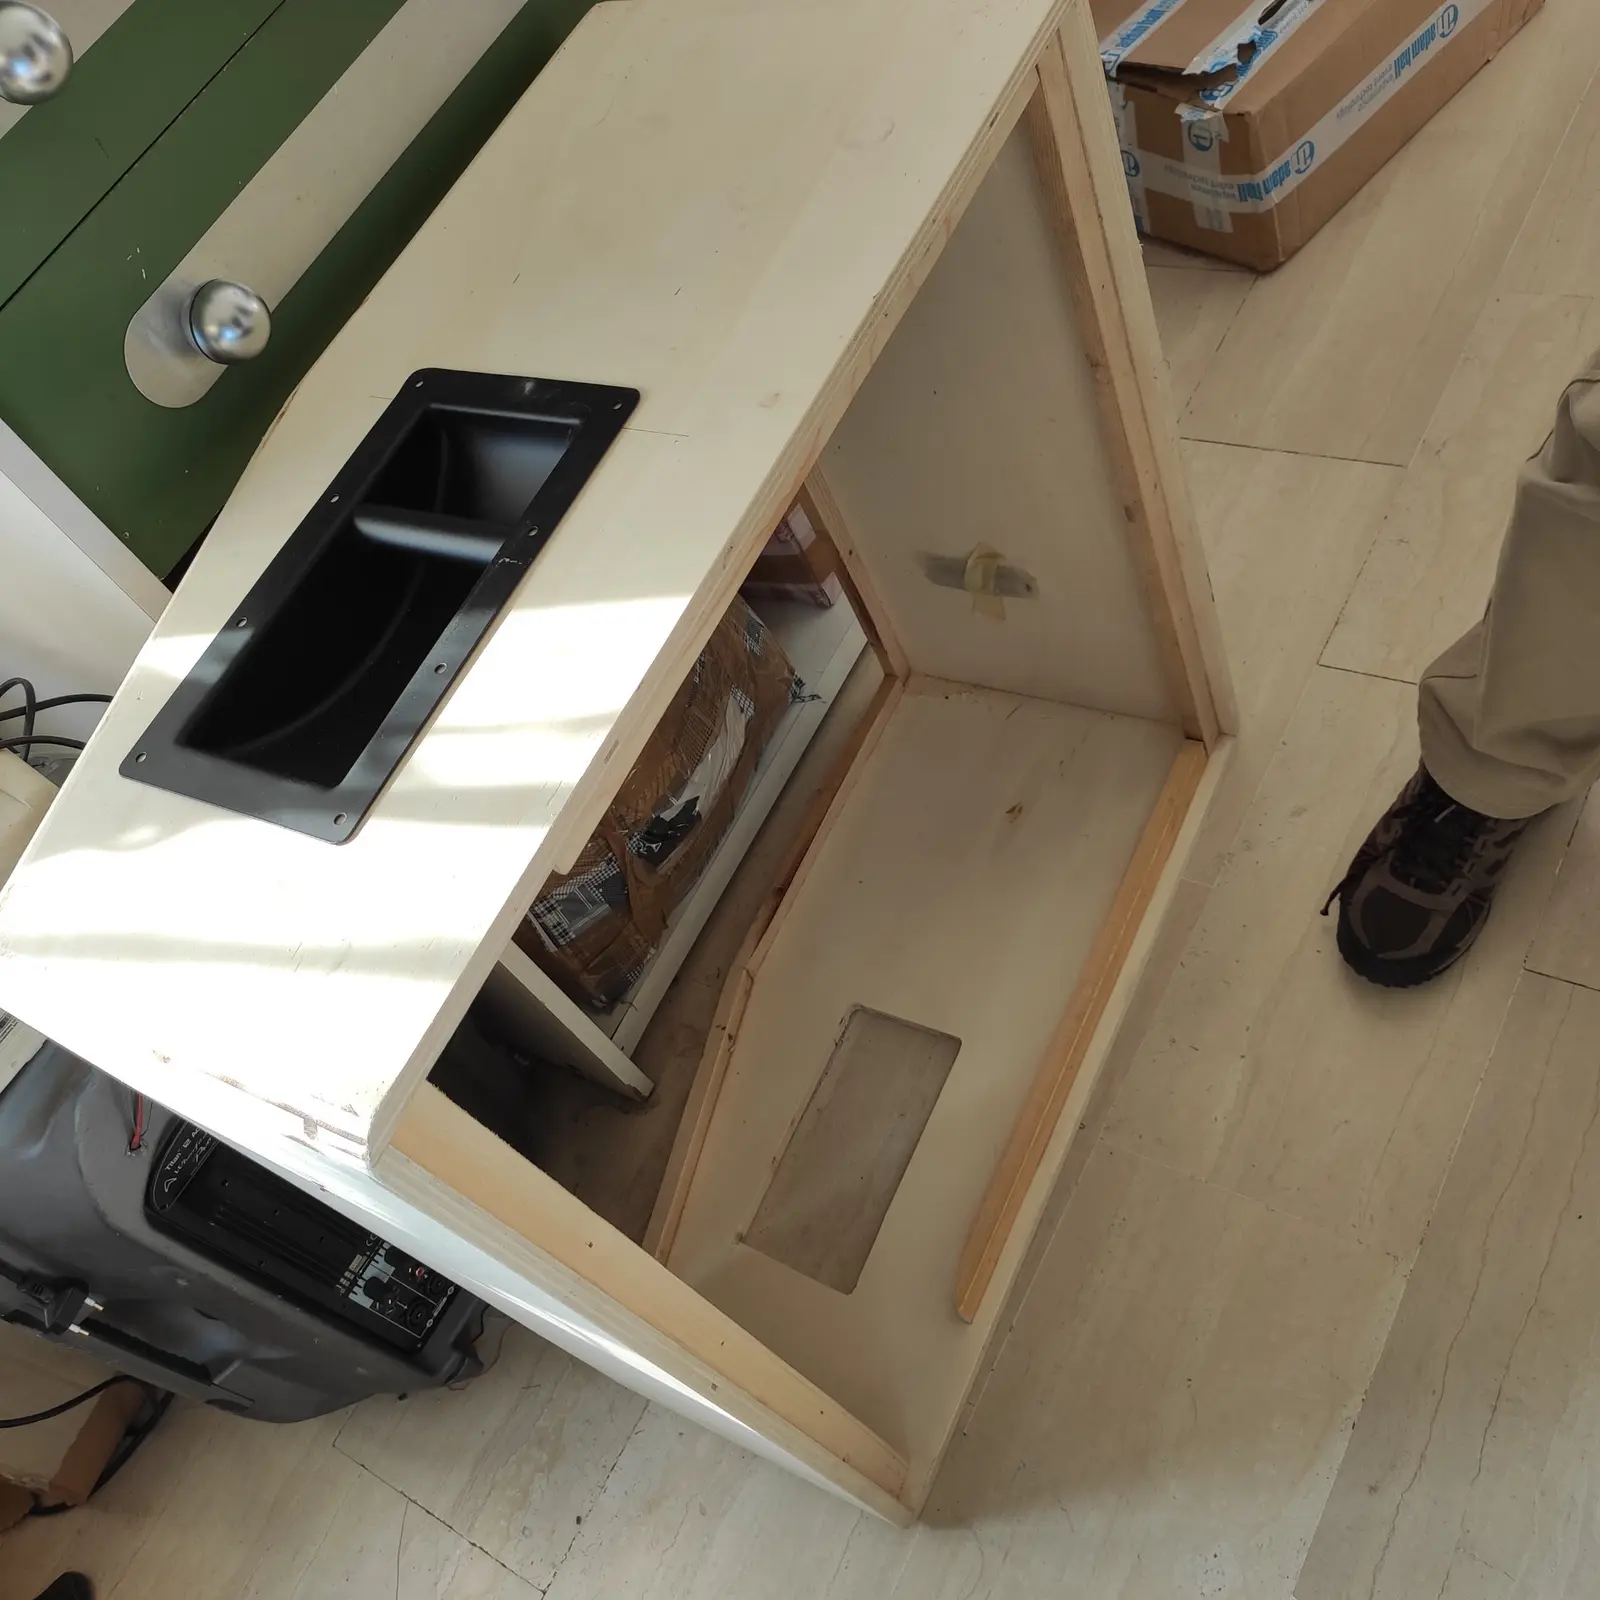
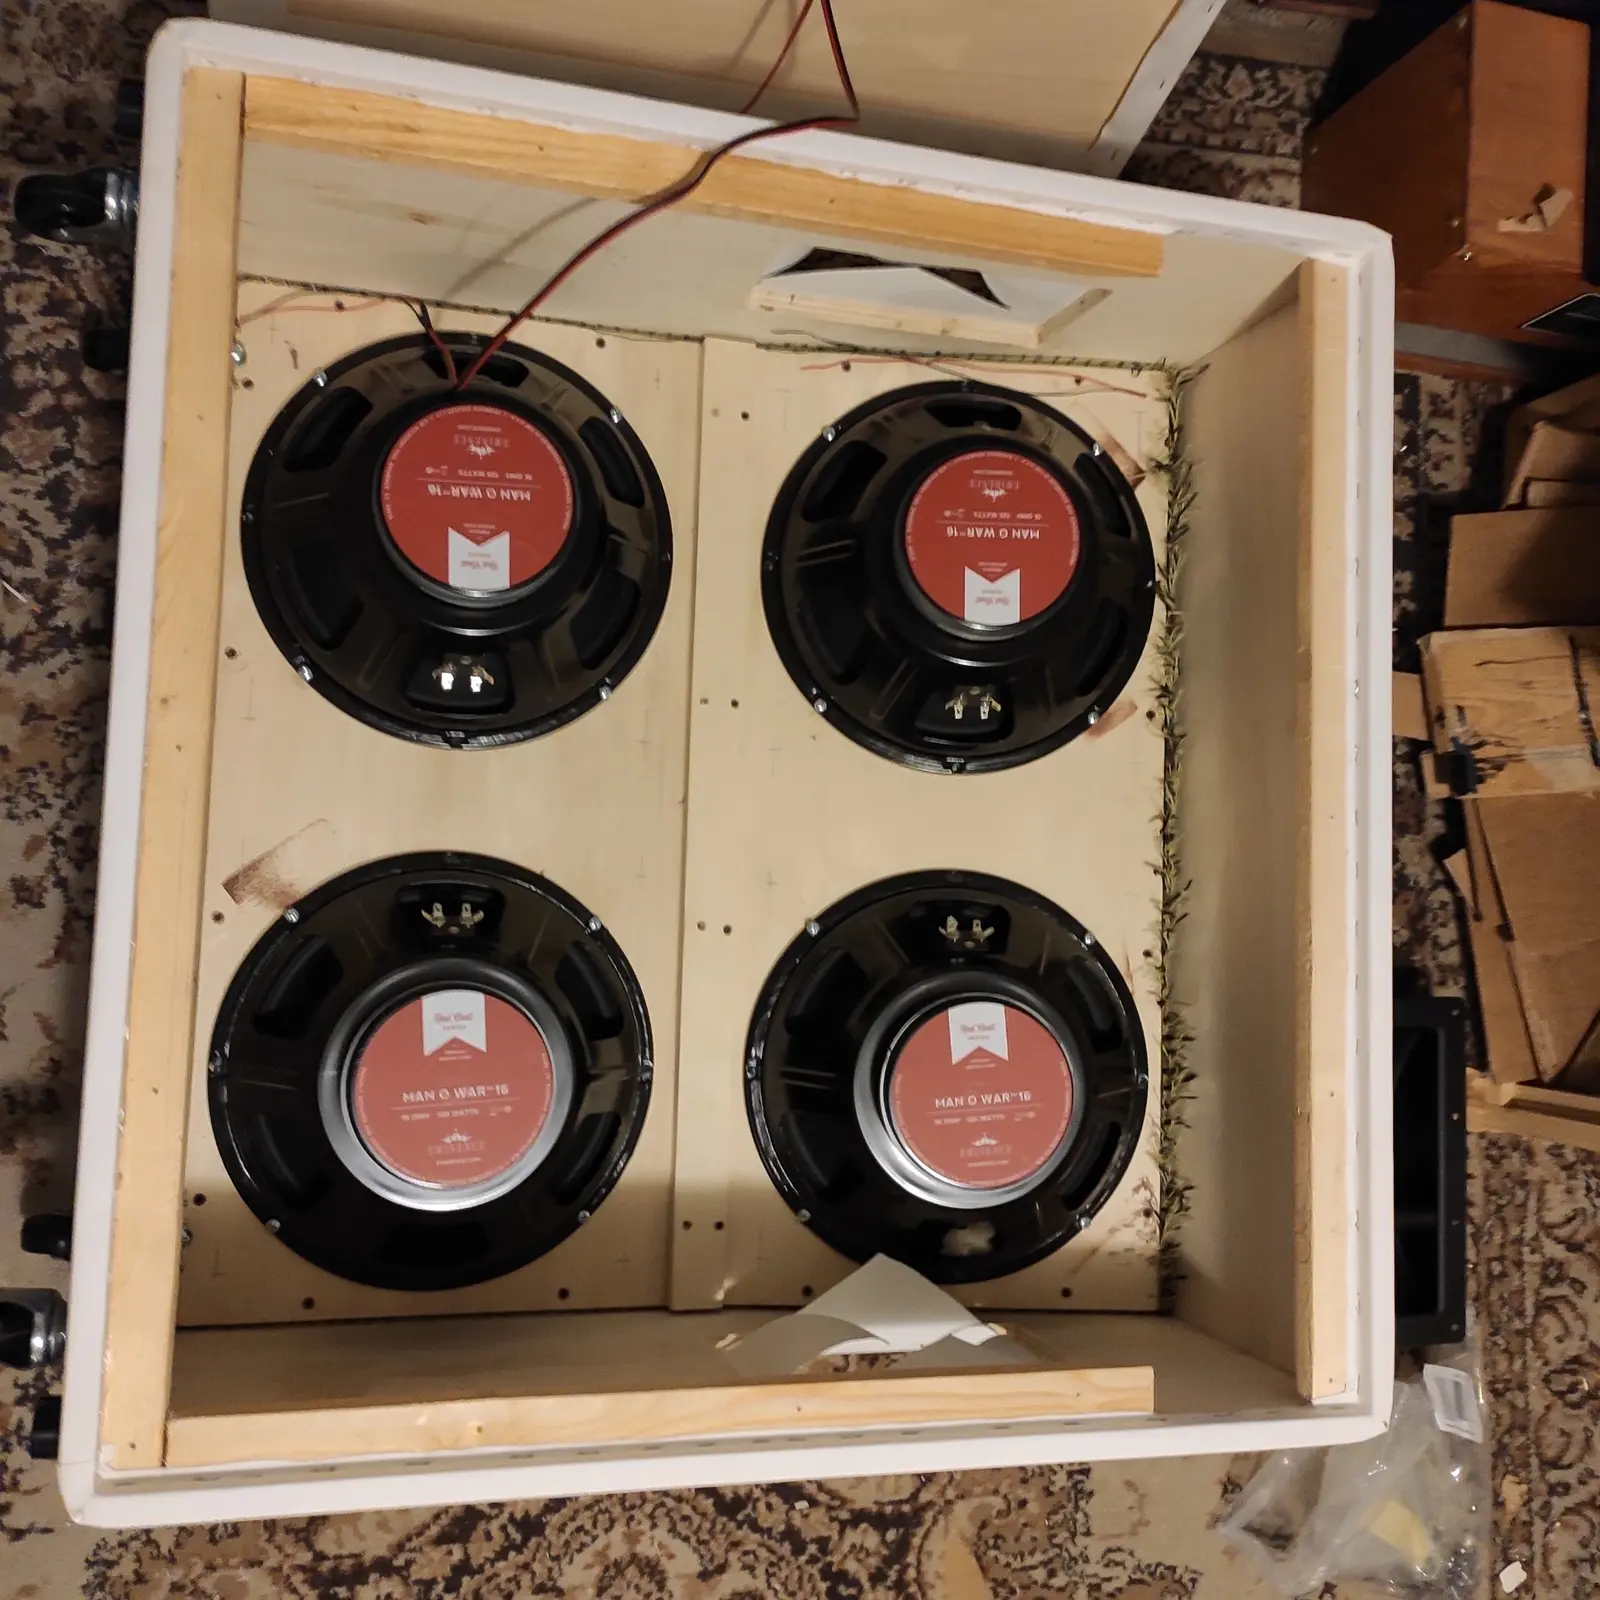
The enclosure is not just a container. Proportions, materials, bracing and openings contribute to strength, acoustic response and practicality. The work begins with bare wood and continues by hand, one stage at a time.
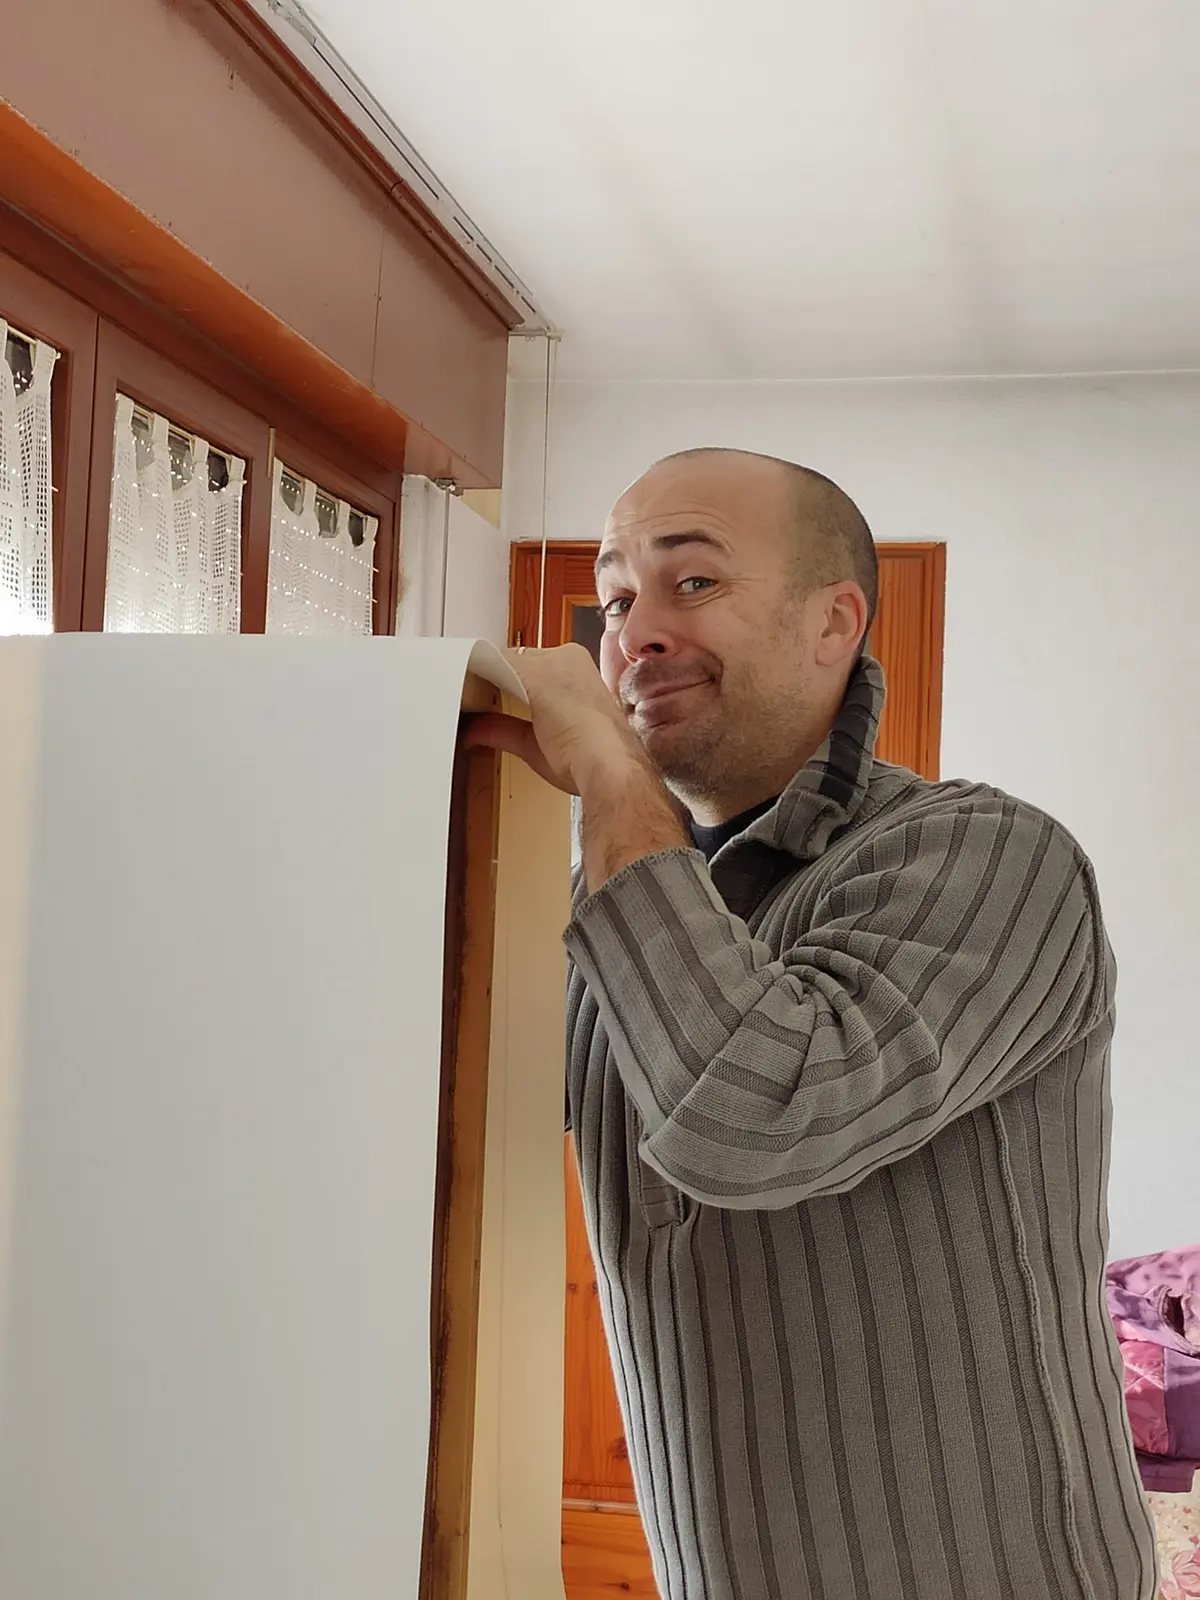
The covering is also applied by hand, with careful attention to edges, joints and finishing so the result is both stage-ready and instantly recognisable.
03 · Identity
Even the details have a function.
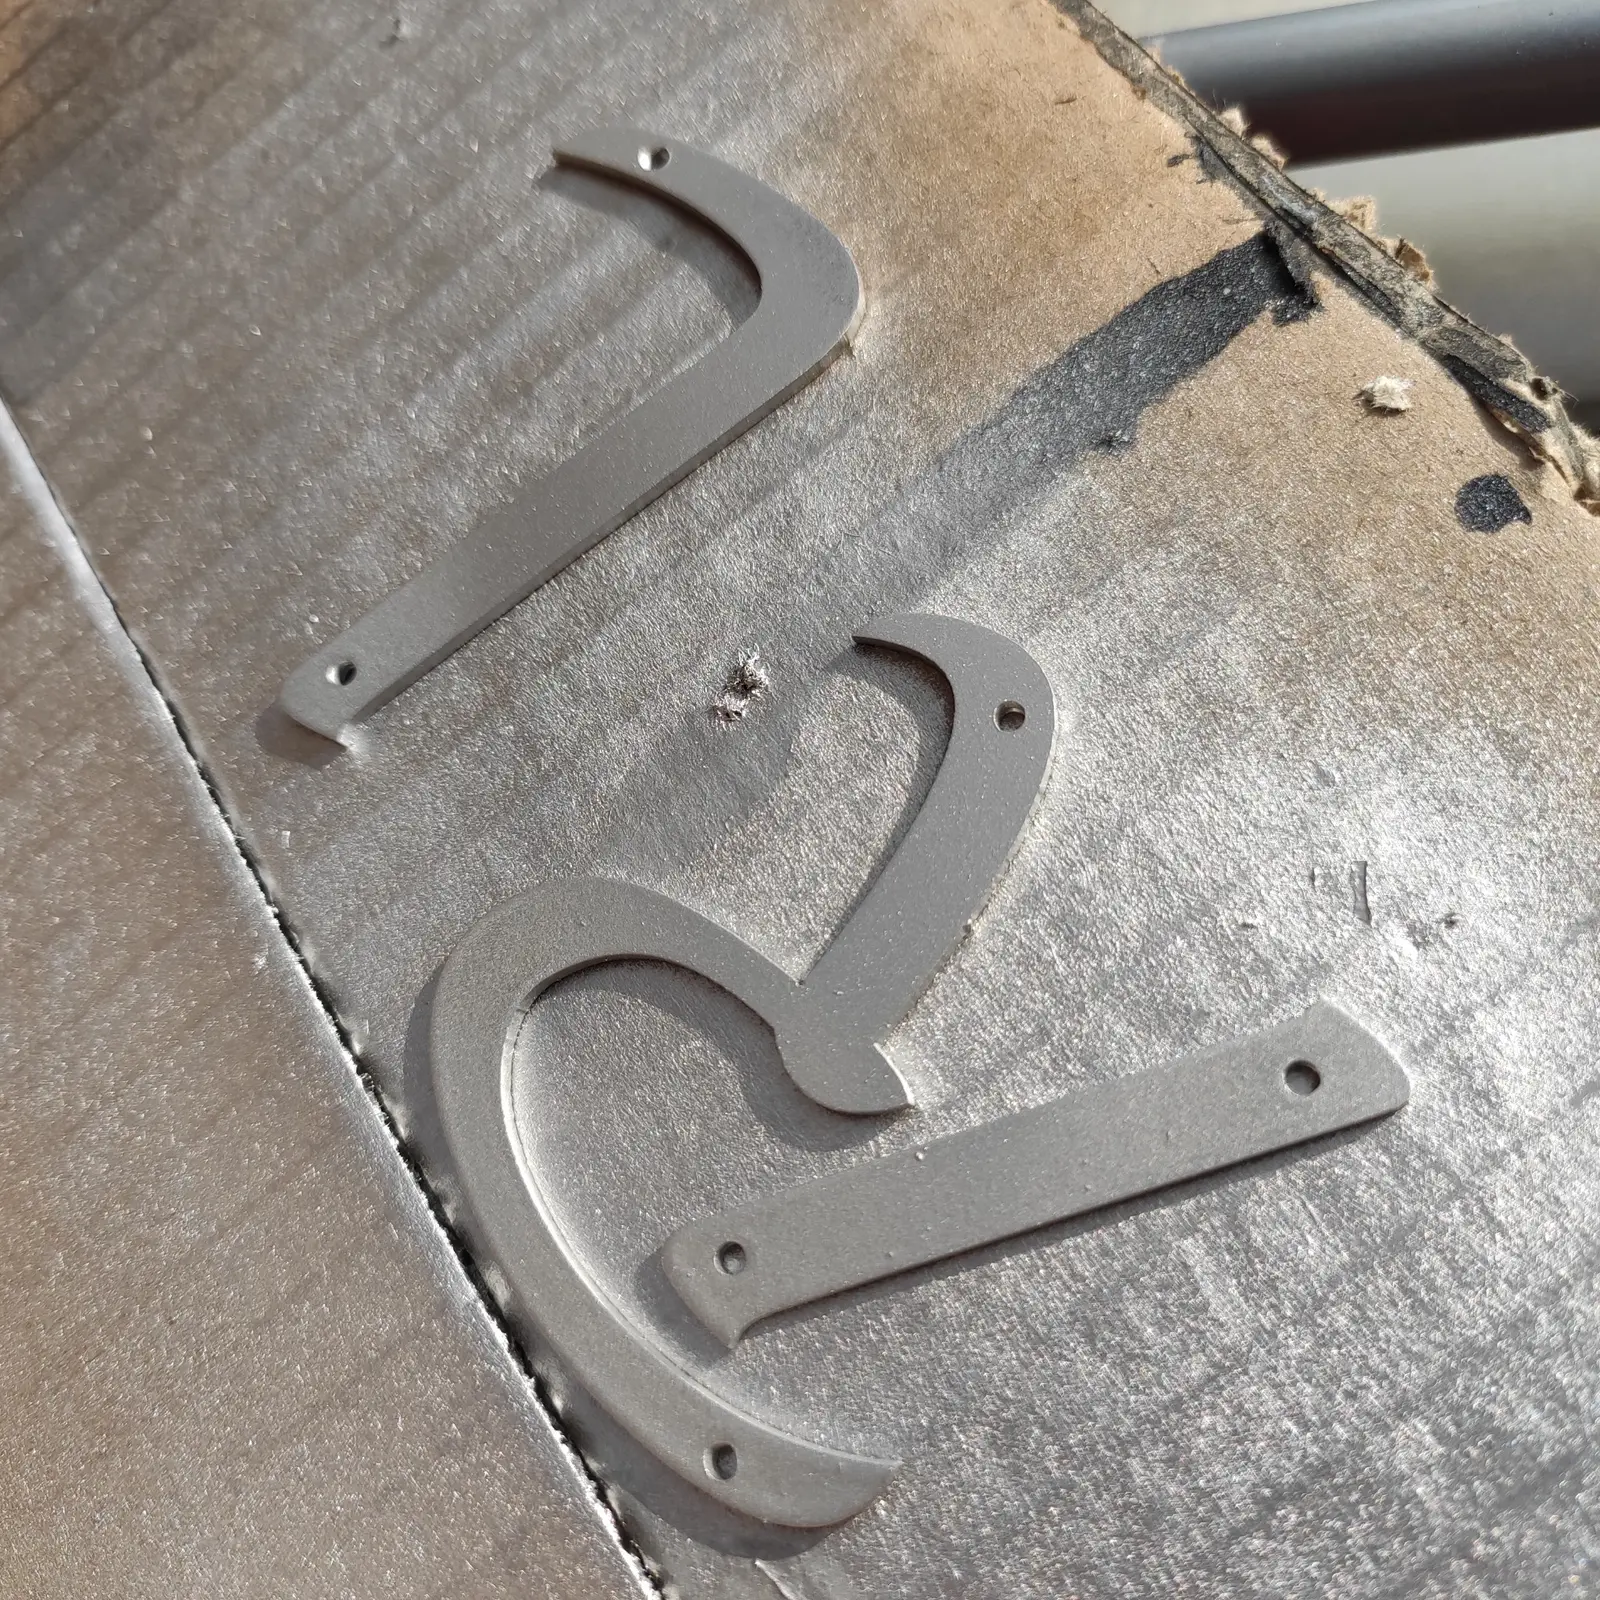
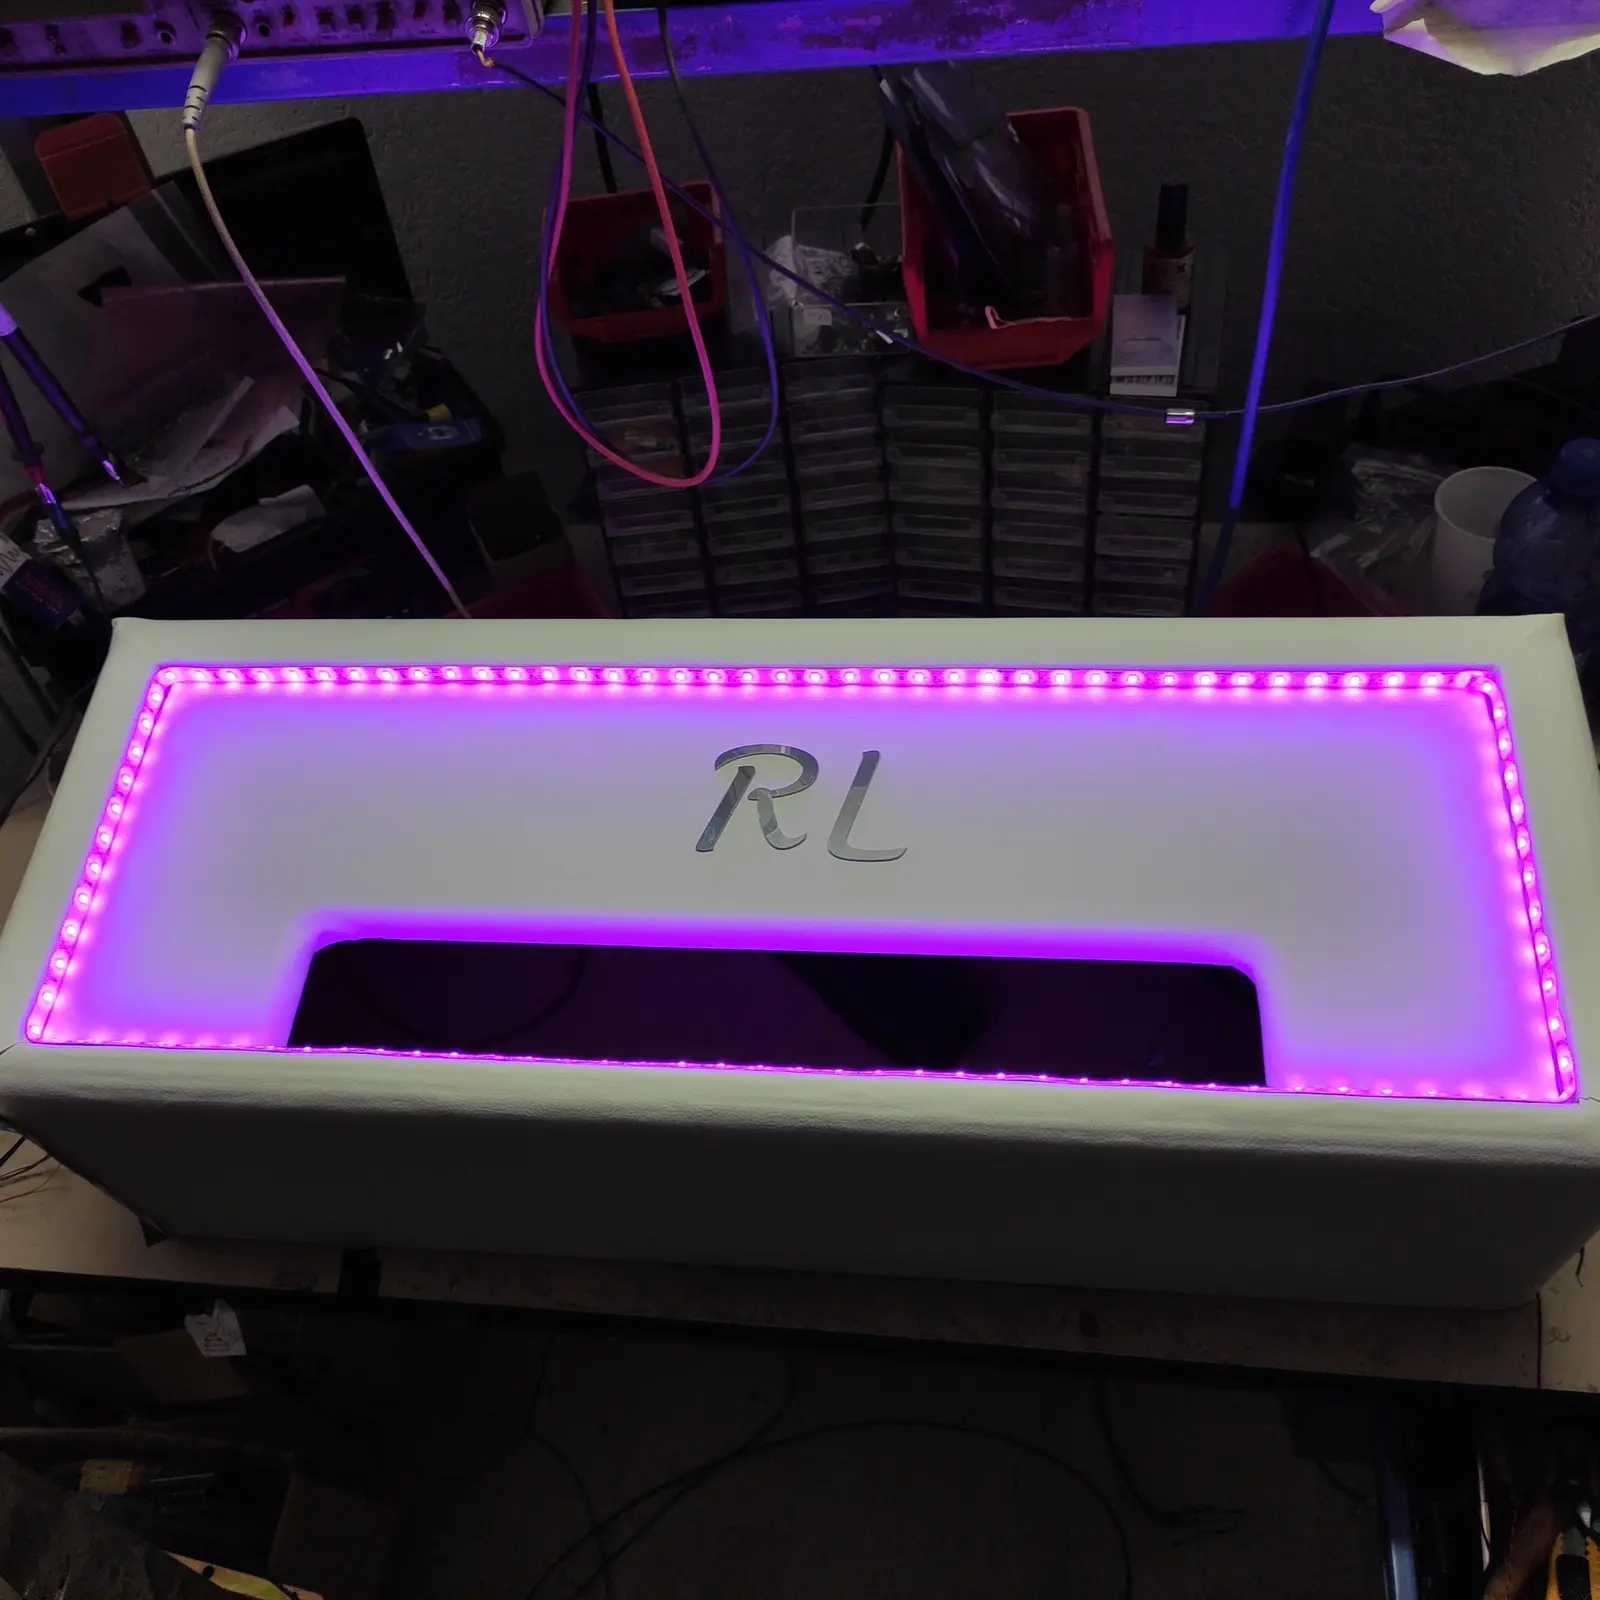
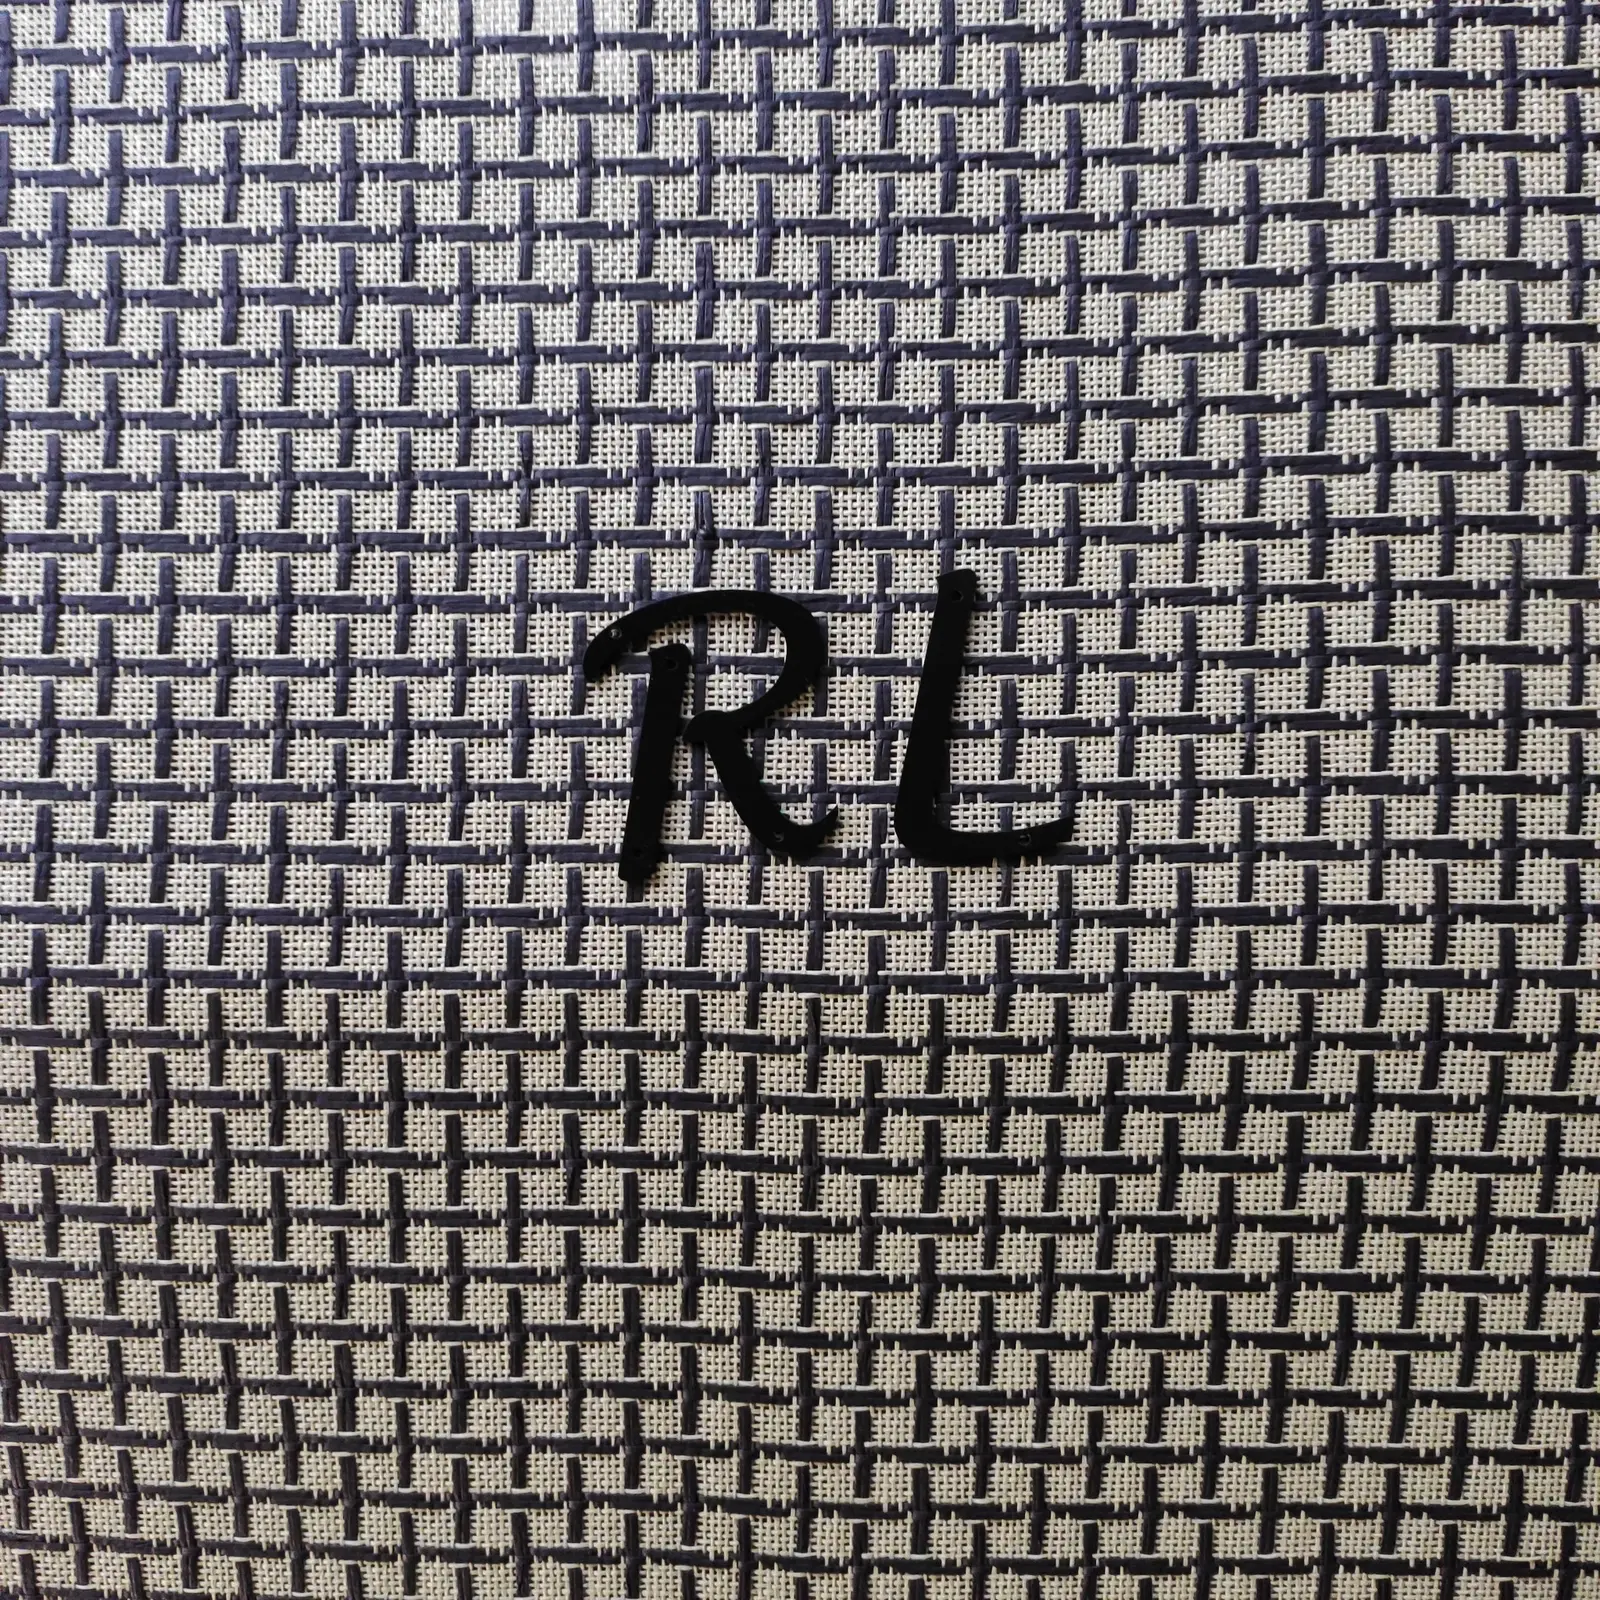
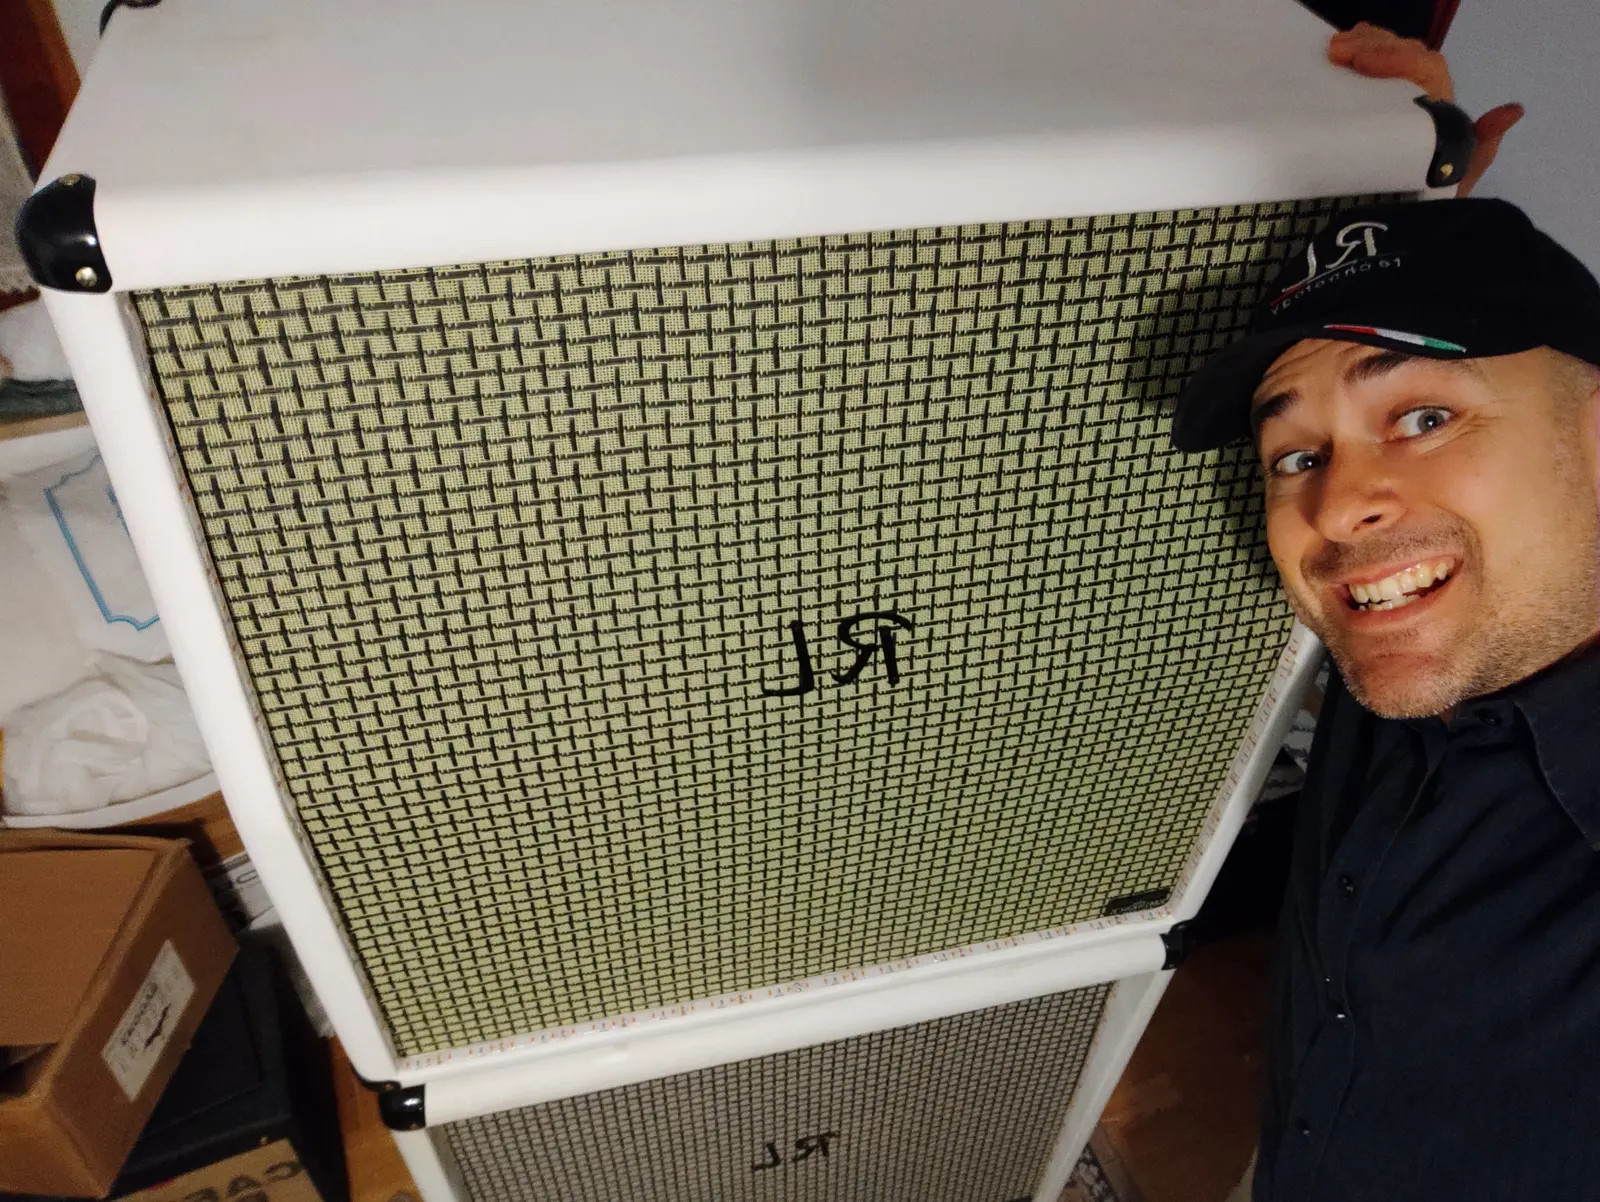
Logo, grille cloth, profiles and lighting are not added at the end: they belong to the concept. Each project can have a presence of its own while still speaking the RL visual language.
On the White Skin full stack, the white finish and purple UV LEDs turn the cabinet into a stage element while preserving legibility, protection and strength.
04 · Assembly
From mechanics to sound.
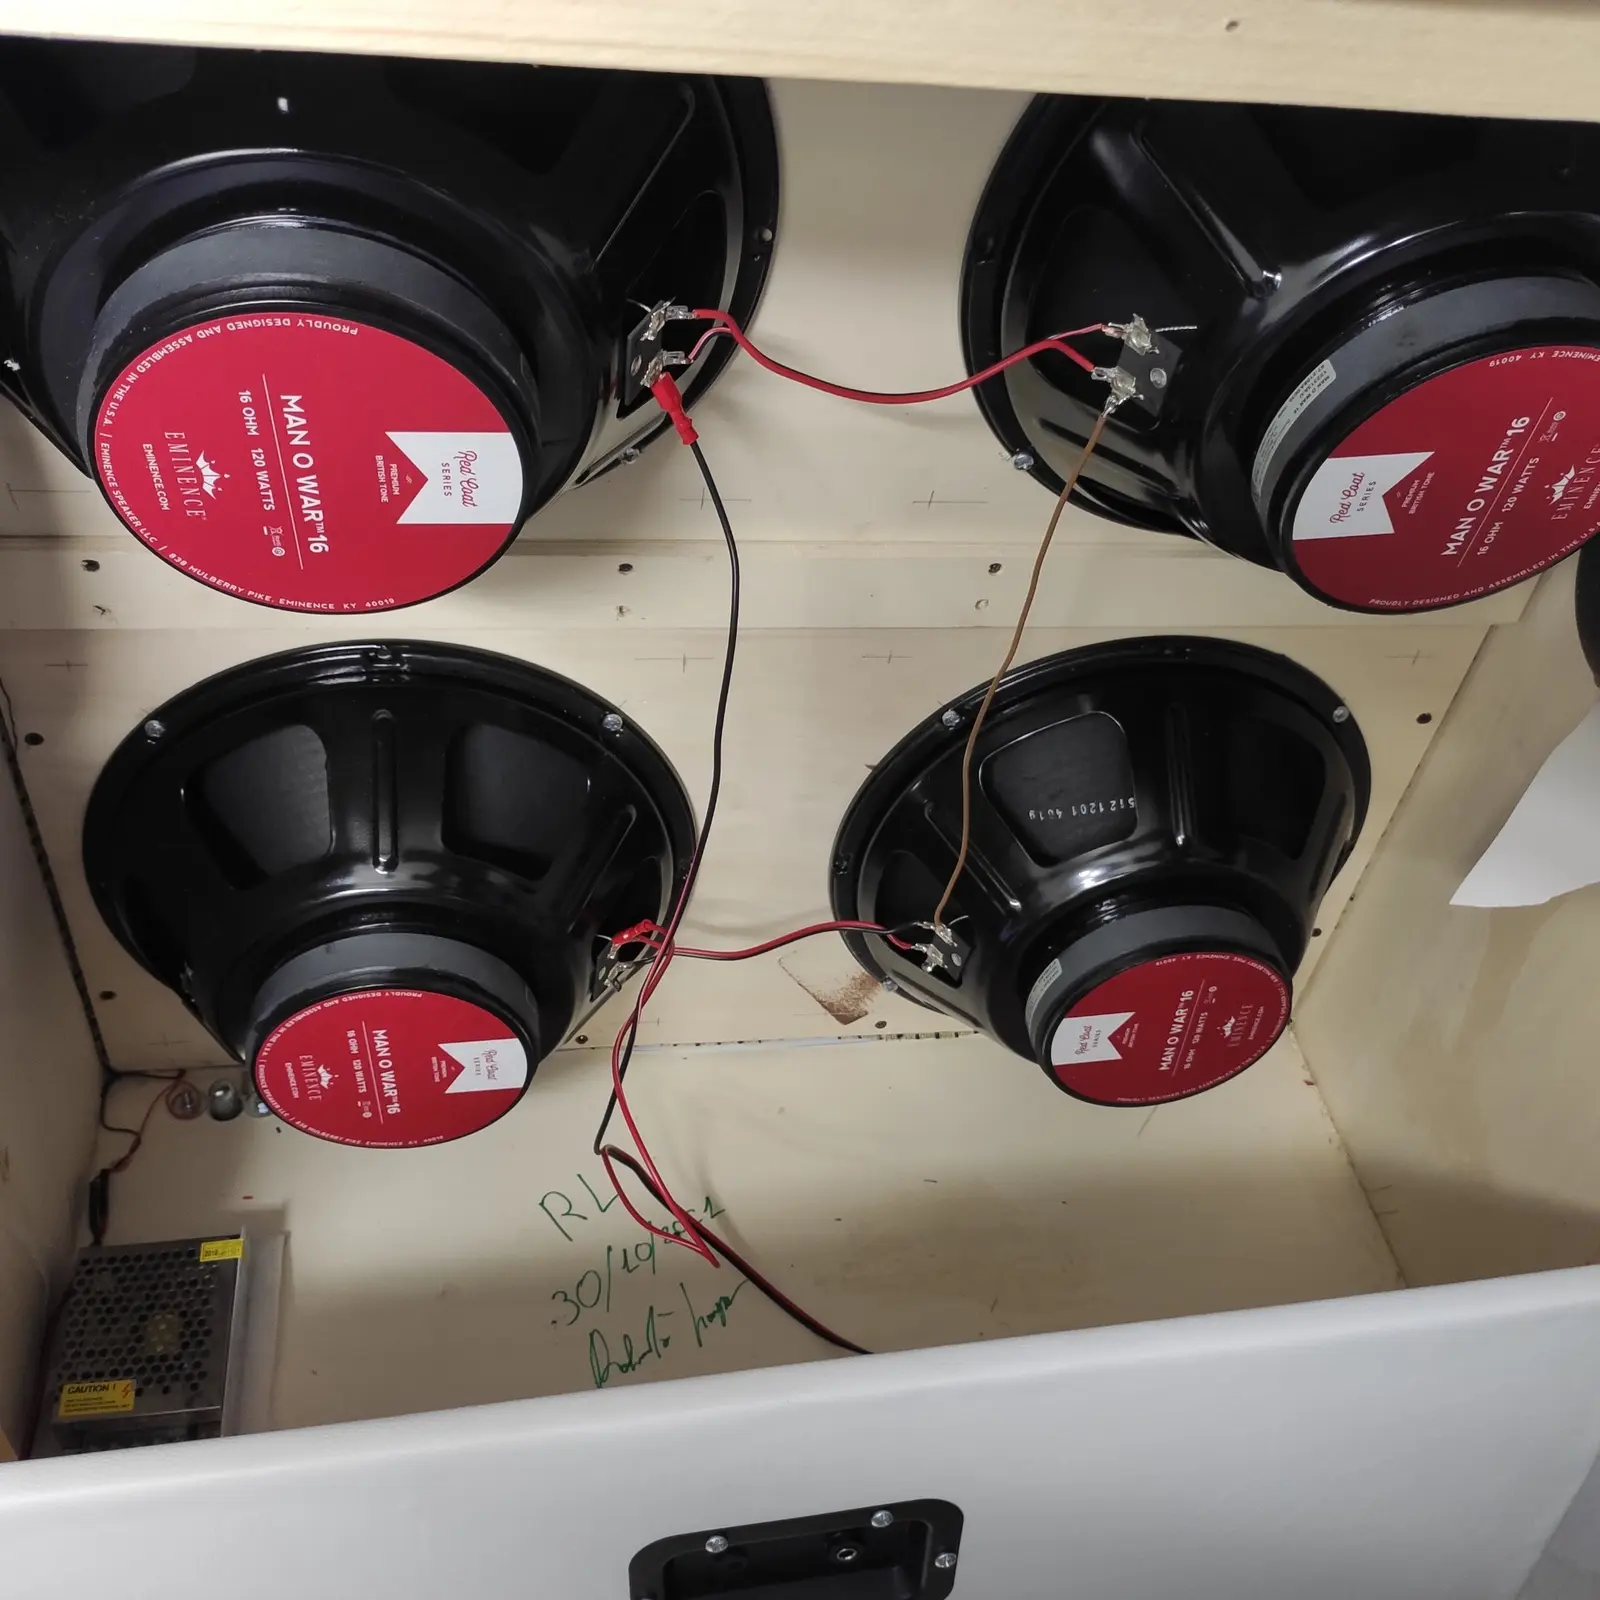
Speakers, wiring, electronics and cabinet become a single system. Assembly is planned to remain tidy, reliable and accessible for future servicing.
The project is complete only after inspection, measurement and listening tests. Build quality matters most when it becomes response, dynamics and musical presence.
One project at a time
From bench to stage.
- 01
Listen
Define the character and understand what the amplifier must give back to the musician.
- 02
Design
Turn the idea into circuitry, mechanical structure and proportions.
- 03
Build
Work on electronics and cabinet with direct control over every stage.
- 04
Measure
Verify operation, safety, noise and system response.
- 05
Play
The decisive test: dynamics, touch sensitivity and musical identity.
Build in motion
Craftsmanship is even better seen in motion.
Instagram features photographs from the bench and RL build timelapses: from raw materials to the first signal at the output.
Built by hand · Voiced by ear